
Self defense techniques for common attacks and safer exits

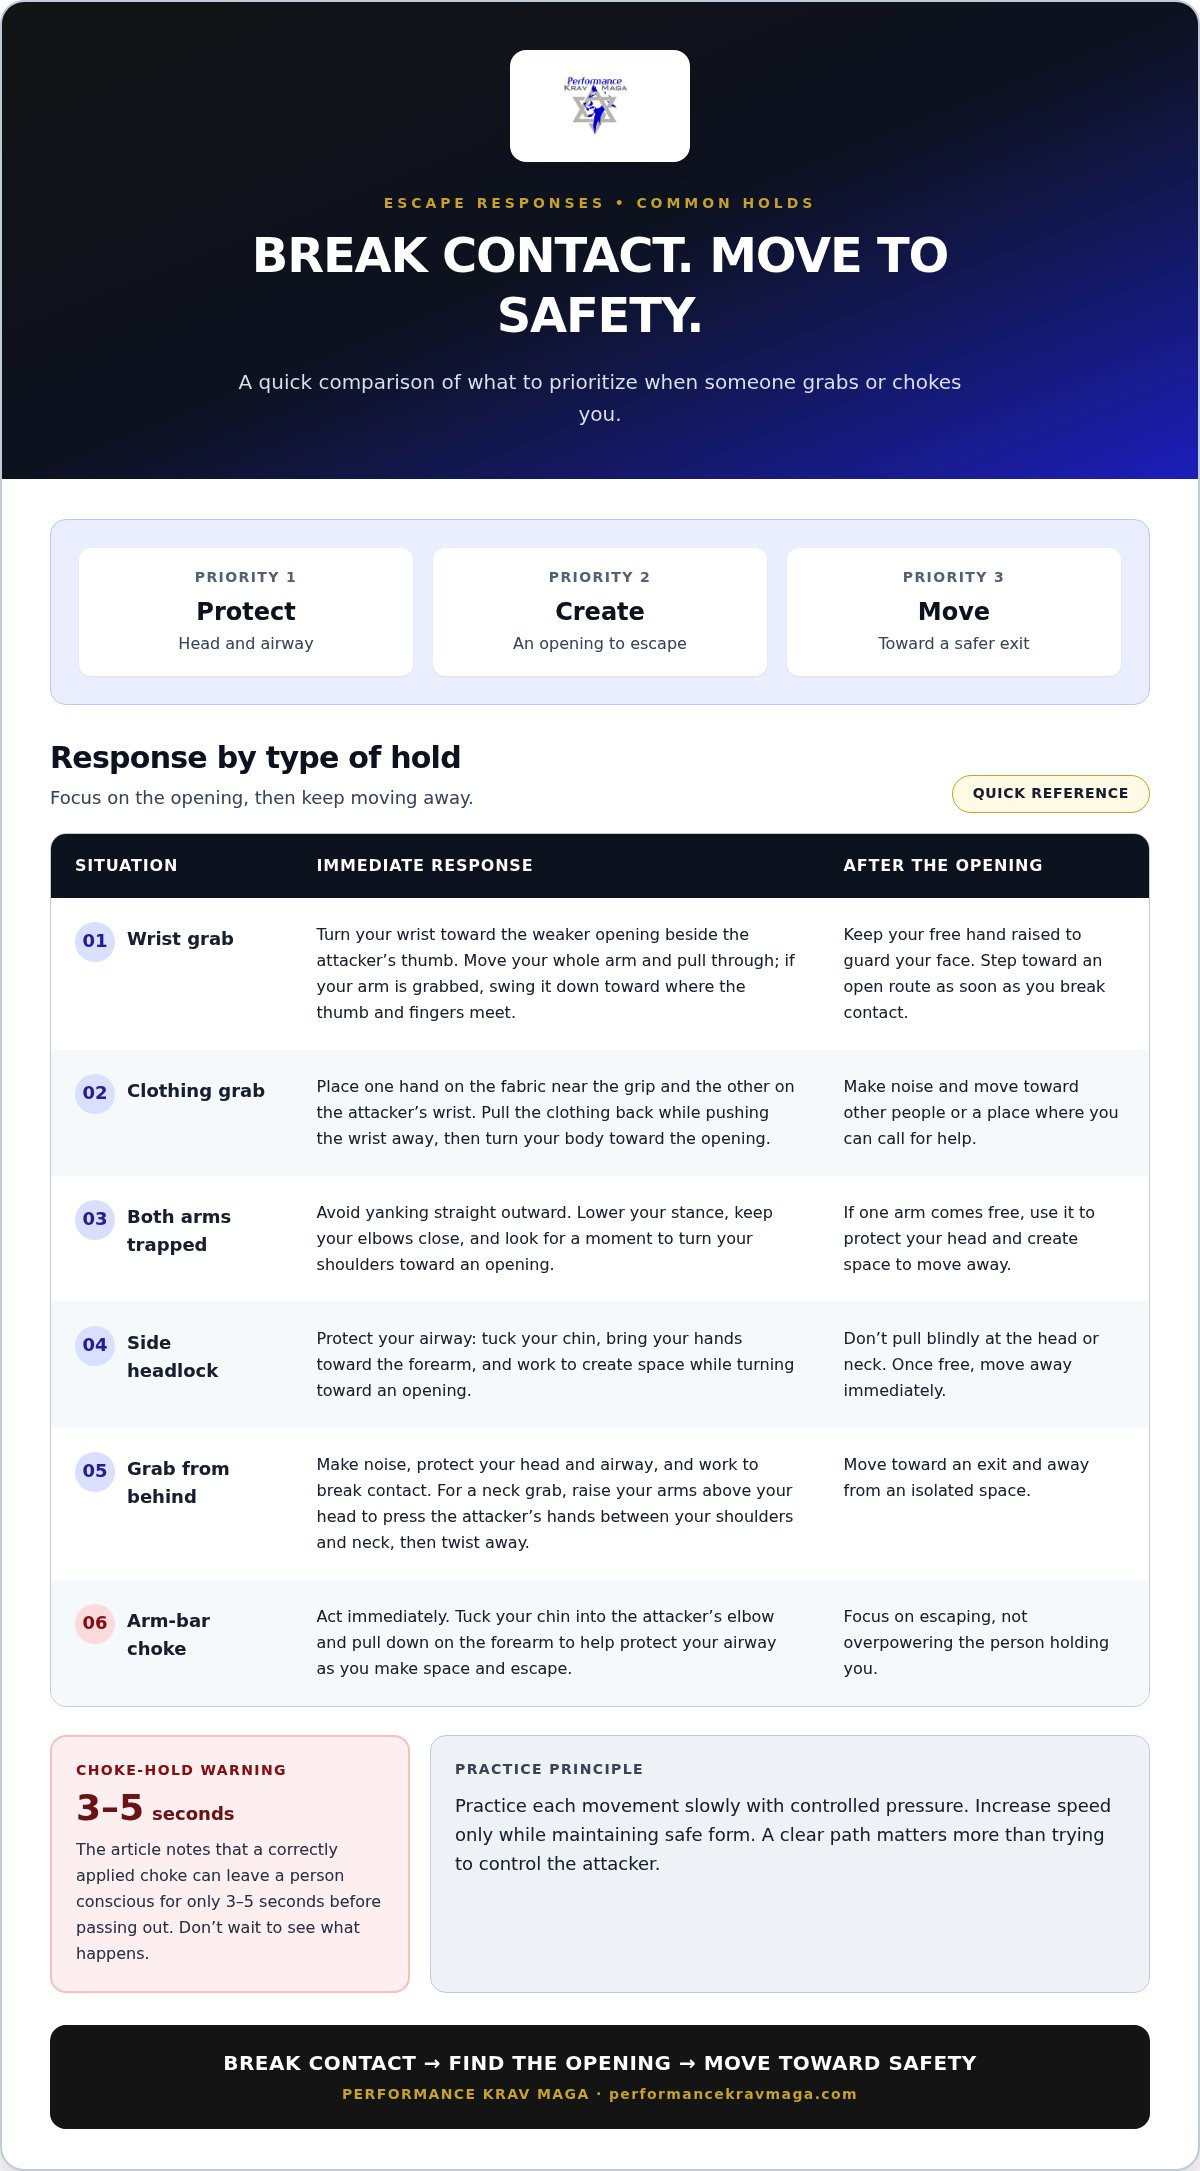
A safe exit matters more than a perfect strike. The most useful self defense techniques for common attacks create a chance to break contact: strike toward vulnerable areas if necessary, turn a wrist toward the opening by the attacker’s thumb, and protect your airway by tucking your chin and pulling down on the forearm. Then move toward safety.
It’s natural to focus on what to do if someone grabs or chokes you. Practical self-defense also means noticing what’s around you, creating distance early, and choosing a clear route away from danger. A simple response you can recall under stress is more useful than a complicated sequence you haven’t practiced.
This guide explains how to use a palm-heel strike, eye and knee strikes, escape a wrist grab, and respond to an arm-bar choke hold. You’ll also learn how to scan your surroundings, set a firm boundary, and move toward a safer exit. The priority is straightforward: protect yourself, break contact, and get to safety.
Table of Contents
1. Palm heel, eye, and knee strikes
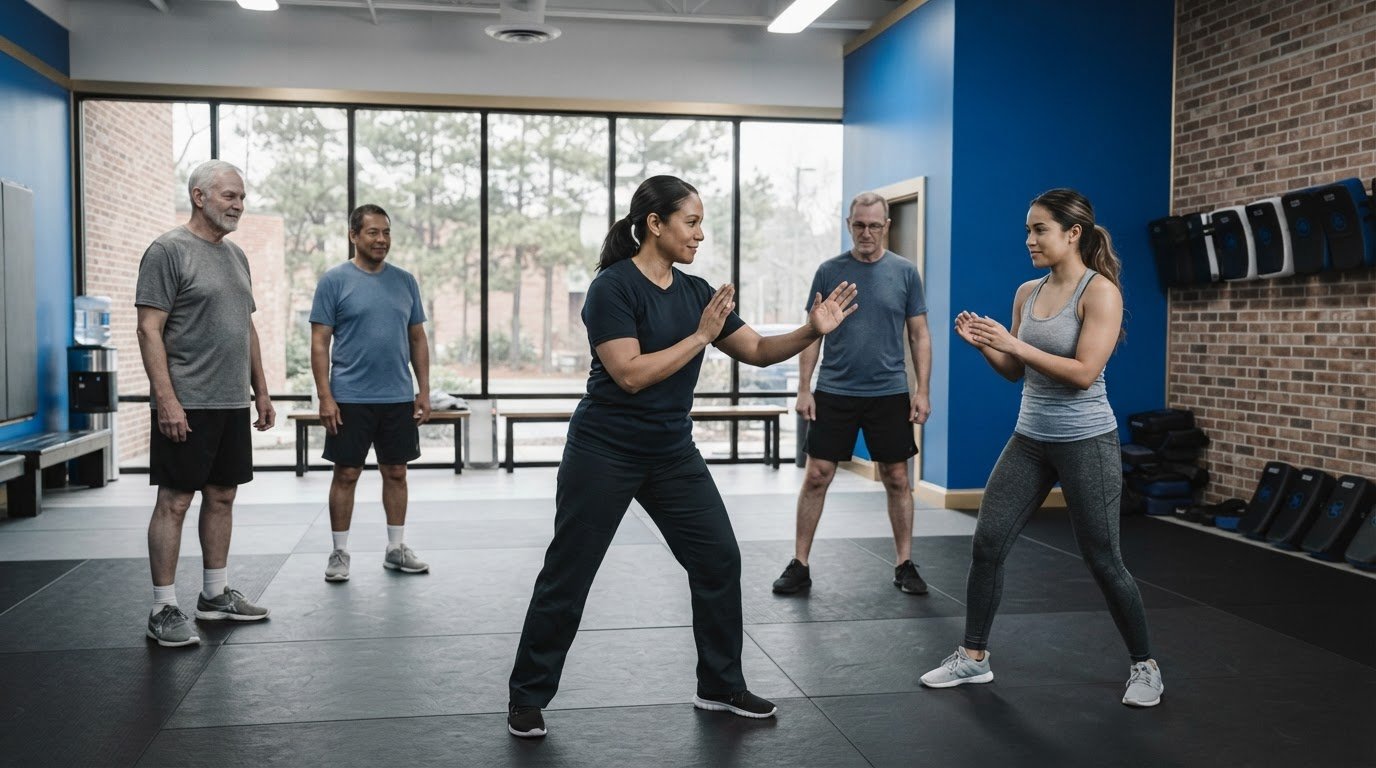
In a standing position, raise both hands about 12 inches from your face, angle your body, and bend your knees. This ready stance protects your head while leaving room to move or create distance. If physical action becomes necessary, treat strikes as a brief way to interrupt an attack and escape, not as a reason to stay and fight. Useful self defense techniques for common attacks begin with that priority: make space, then leave.
A palm-heel strike uses the firm heel of your open hand. Keep your fingers lifted away from the target, brace your wrist, and drive forward toward the nose if you need to create an opening. A boxing jab can also work offensively or defensively, but avoid aiming at the chest, where it tends to be ineffective. Eyes, nose, throat, and groin are vulnerable areas, so strikes there can cause serious harm.
At close range, an elbow strike may be more practical than extending your arm. Keep your other hand raised, turn your hips with the movement, and use your elbow only to make space for an exit. A hammer fist follows a similar close-range principle: form a firm fist and strike downward with its outer edge. Avoid swinging blindly, since a missed strike can leave you off balance.
Choose a knee strike based on distance and the other person’s position. If the person is close, a direct knee may be possible; if there’s too much distance, a long knee can help bridge it. An upward knee may suit a target moving away or already leaning over. Keep your balance, protect your head with your hands, and move toward an exit after creating space.
Keys may seem like an easy tool for a hammer strike, but your grip can slip or injure your own hand. Don’t depend on keys as a weapon or place them between your fingers. Keep them ready to unlock your door, and use your car’s panic button, if available, to make noise and flash the lights. Any carried self-defense tool, including pepper spray, requires practice before an emergency.
U.S. self-defense laws aren’t one uniform rule: whether force is legally justified depends on the circumstances and applicable state and local law. Pepper-spray restrictions also vary by location, so learn the rules where you are before carrying it. In a dangerous situation, prioritize escape and call 911 or local emergency services when you can.
Strikes to the eyes, throat, or head can cause severe injury, while a forceful knee can injure the person struck or destabilize you. Serious harm is more likely if strikes continue after you have a chance to escape. Practice slowly, prioritize form over power, and work eye-target drills on a dummy or sparring pad, never a training partner. Practice self defense techniques for common attacks with controlled movements, then focus on reaching a safe exit.
2. Escaping wrist grabs using the thumb-side opening
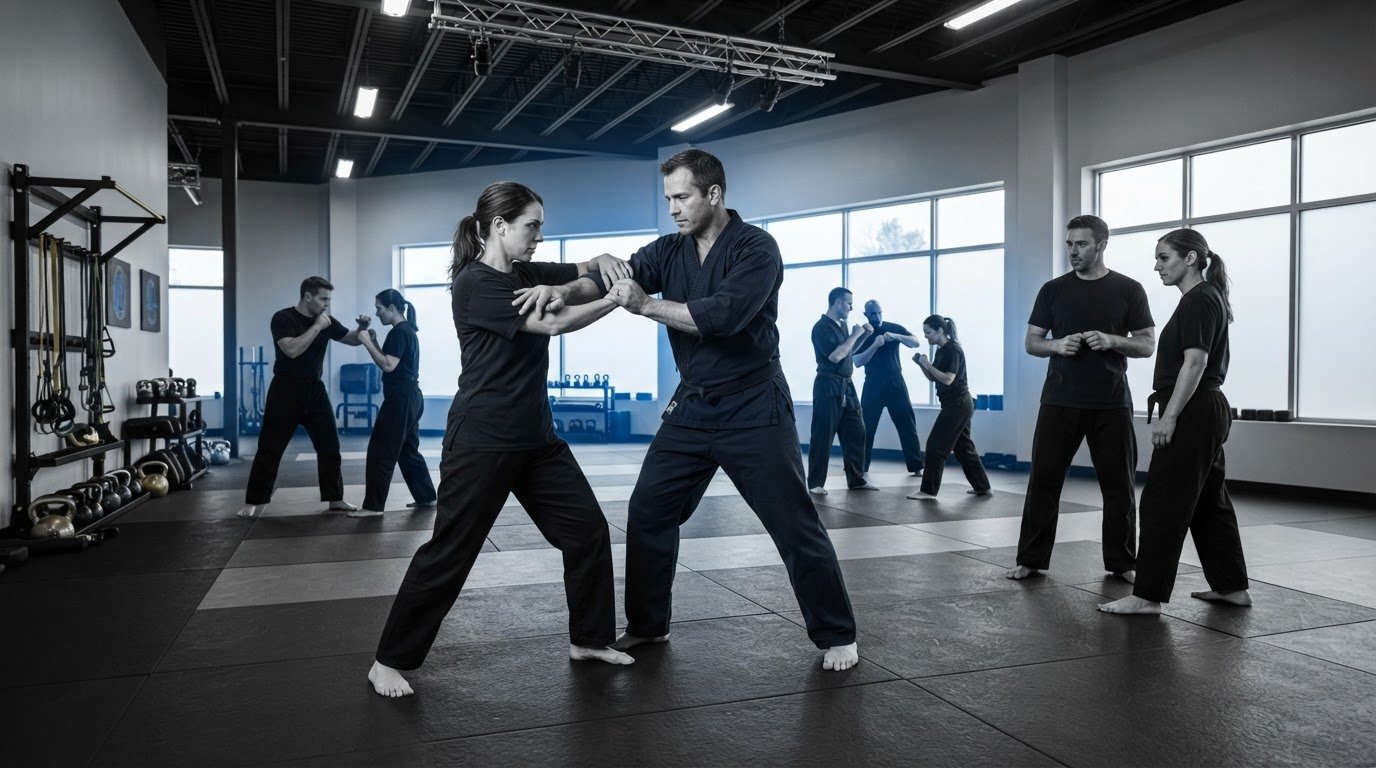
A wrist grab can feel like a contest of strength, but the grip has a weaker opening beside the attacker’s thumb. Turn your wrist toward that gap and pull through it, moving your whole arm rather than wrenching only your hand. If someone grabs your arm, swing it down toward the point where their thumb and fingers meet. Keep your free hand raised to guard your face, and step toward an open route as soon as you break contact.
How can you escape a wrist grab or clothing grab safely? For a wrist hold, rotate toward the thumb-side opening and pull your arm through. For a clothing grab, hold the fabric near the grip and the attacker’s wrist, then pull the clothing back while pushing the wrist away. Make noise as you move, and focus on creating space rather than staying to trade blows.
A clothing grip can restrict your movement or pull you off balance, especially if the fabric is held near your collar. Bring one hand to the material beside the grip and the other to the attacker’s wrist. Pull the fabric back while pushing the wrist away, then turn your body toward the opening. If the person follows, keep moving toward other people or a place where you can call for help.
If both arms are trapped against your body, avoid wasting effort by yanking straight outward. Lower your stance, keep your elbows close, and look for a moment to turn your shoulders toward the opening in the hold. If you free one arm, use it to protect your head and create space to move away. A clear path matters more than trying to control the attacker.
A side headlock can press the head and neck, so protect your airway first. Tuck your chin, bring your hands toward the forearm, and work to create space while turning toward an opening. Don’t pull blindly at the head or neck. Once free, move away immediately and call 911 or local emergency services if you’re in danger.
What should you do if someone grabs you from behind? Act immediately: make noise, protect your head and airway, and work to break contact so you can move toward an exit. If the hold is a neck grab, raise your arms above your head to press the attacker’s hands between your shoulders and neck, then twist away.
Plan your route before moving. Notice the nearest door, open public area, or person who can help, and avoid backing into a wall or corner. If a grab interrupts your movement, use the first opening to escape toward safety, not deeper into an isolated space. Practice each movement slowly with a partner applying controlled pressure, then increase speed only while maintaining safe form.
3. Protecting the airway in an arm-bar choke hold
An arm-bar choke can restrict breathing or blood flow, so act immediately. A person subjected to a correctly applied choke can remain conscious for 3-5 seconds before passing out. Don’t wait to see what happens. Tuck your chin into the attacker’s elbow and pull down on the forearm to help protect your airway. Keep your movements focused on making space and escaping, not overpowering the person holding you.
Once your chin is tucked, use both hands to pull the attacker’s arm down. Crouch to lower your center of balance, then move around the attacker rather than pulling straight backward. As you turn, push away and guide your head through the opening between the attacker’s arms. Keep your chin tucked throughout the movement. When free, move toward an exit.
A headlock can feel similar, but the pressure may come from the arm around your head rather than across your throat. Protect your neck by bringing your hands toward the encircling arm and keeping your chin lowered. Turn your body toward the opening if one appears, then create distance. Avoid twisting your neck sharply or staying close to someone who still has a hold.
Chokes are emergencies, not contests of endurance. If someone releases a hold after a tap, stop applying pressure immediately; if a person becomes unconscious during practice, release the hold at once. Training partners should practice these principles slowly and under close supervision. Never test choke techniques on someone who cannot safely communicate or stop the drill.
How should you protect yourself during a ground attack and get back to your feet? Cover your head with your arms, keep your eyes on the attacker, and use your legs to create space. When there’s room, turn onto your side, place one hand on the floor, and rise while keeping the other hand ready to guard. Move toward an exit as soon as you’re standing.
If you’re on your back with your knees pulled toward your chest, someone approaching may be at risk of an upkick. That position can create space, but don’t rely on a kick as your entire escape plan. Protect your head, look for a route away, and use the opening to move clear. If the attacker remains close, keep your legs between you and them while shifting toward an exit.
For a practice drill, begin from a controlled arm-bar position with a partner who knows the sequence. Tuck your chin, pull down on the forearm, crouch, move around, and push away. Stop as soon as either person taps or feels unsafe. Rehearse the movements slowly before increasing speed, and prioritize clean mechanics over force.
4. Situational awareness and scanning surroundings
Awareness starts before a threat becomes physical. As you enter a parking lot, notice the nearest exit, people nearby, and anything blocking your route. Check where you’re standing and whether you can move freely. A quick scan can help you spot a change, such as someone following your path or approaching from behind. Keep your attention on your surroundings instead of assuming every approach is harmless.
What are the safest first steps when someone threatens or approaches you? Create distance, keep at least two arm lengths if possible, and set a firm, clear boundary. Move toward a public place or other people, and leave rather than argue if the threat continues.
Scan your surroundings without getting stuck in one position. In a store, note the entrance, an employee, and the route to a staffed area. On a sidewalk, look for open businesses, other pedestrians, and a clear direction away. Avoid standing with your back to a wall or in a corner, where movement becomes harder. Keep your hands free enough to move and protect yourself.
Phone habits affect awareness. Limit screen use while walking, especially near a curb, crossing, or parked cars. Looking down can make it harder to notice someone closing distance, an obstacle underfoot, or a vehicle pulling out. If you need to check directions, pause somewhere visible and safe, scan around you, then continue with your attention back on the route.
Treat discomfort as a cue to change position, not something you have to explain away. If a person’s behavior or a location feels wrong, turn back toward a familiar place and ask someone to walk with you. For example, if a path is isolated and someone is following, return to the staffed entrance you just passed instead of continuing alone.
Set boundaries with steady words and a firm tone. Say, “Stop there,” or “I don’t want to talk,” while keeping space between you. Clear language communicates your position without insults or threats that could escalate the interaction. If the person ignores the boundary, move toward help rather than repeating it from the same spot.
Avoidance is the first principle of self-protection. Choose a well-lit route when one is available, stay near other people, and notice whether someone changes direction when you do. If you feel unsafe, leave early; you don’t need proof that danger is certain before moving to a safer place. Freezing can happen automatically during a threat, so focus on one immediate action, such as stepping toward an exit or calling for help.
5. Creating distance and finding a safe exit
Distance gives you room to choose your next move. If someone approaches aggressively, step toward an open route instead of backing into a wall, parked car, or corner. Keep a car, table, or other solid object between you and the threat when possible. Use the barrier to maintain space, then move toward people or a staffed place.
When is running, calling 911, or seeking help safer than fighting back? Run when a clear route takes you away from the threat; call 911 or local emergency services when you can do so safely. If someone wants your money, giving it up can be safer than resisting, then leave and seek help.
Choose the exit that puts distance and obstacles between you and the attacker. For example, move around a table toward a public doorway rather than squeezing past someone near a wall. Keep your hands free to move, and avoid stopping to retrieve a dropped item. If the first route closes, change direction toward other people or a place where you can call for help.
If someone follows you, don’t lead them to an isolated destination. Keep your distance and, if possible, return to the place you came from to get help. For example, go back into a staffed shop rather than continuing toward a quiet parking area. Tell a specific person, such as an employee, that you need assistance.
Prepare to move before urgency forces a decision. Near your car, keep your keys in hand and notice the route from where you’re standing to the driver’s door. If your vehicle has a panic button, use it to make noise and flash the lights. Avoid searching through a bag while someone is approaching; stay aware and move toward a safer place.
Clothing and accessories can affect how quickly you move. Remove high heels, jewelry, or other items that restrict movement if they slow your escape. Don’t pause to arrange your belongings; prioritize a clear path. If someone is close enough to reach your neck, move away and use a barrier rather than waiting for contact.
A safe exit may mean leaving belongings behind, changing direction, or asking another person to walk with you. Choose the option that creates space without trapping you in a dead end. If physical action becomes unavoidable, focus on breaking contact and moving away. Once clear, get to a safer location and contact emergency services if danger remains.
A barrier can preserve room to move, while a wall can take it away. If followed, return toward the place you came from for help, and leave possessions behind rather than fight over money.
Performance Krav Maga: Krav Maga classes
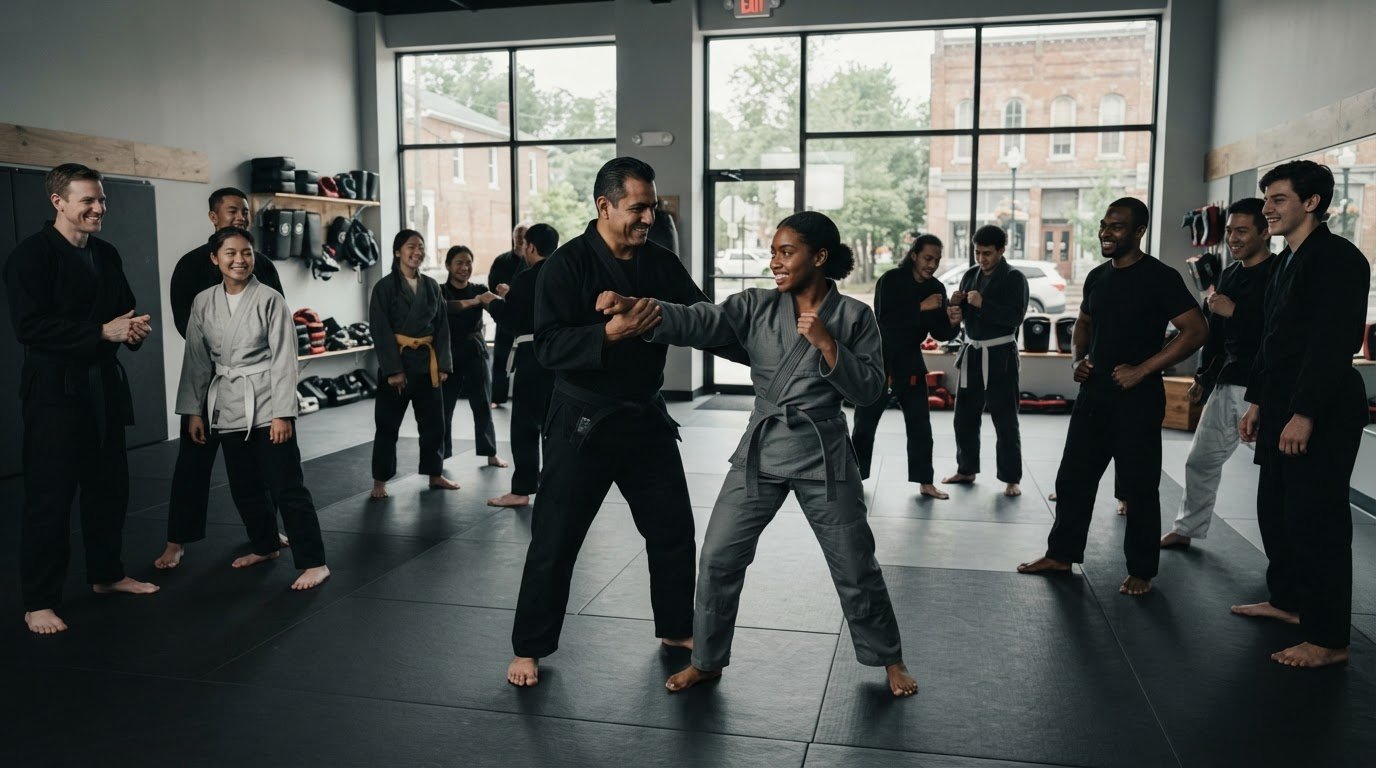
Performance Krav Maga offers Krav Maga classes in Egg Harbor City for people who want to build practical self-defense skills through training. Reading steps can help you understand a response, but practicing movements helps you work on timing, balance, and choosing an exit under pressure. Instructor-led self-defense classes offer a place to develop these skills, whether you’re new to training or building on prior experience.
Consider training if you want guided practice with movement, strikes, and escapes, rather than relying on memory alone. The goal is practical preparation: recognize an opening, act with control, and move toward safety. To explore training, visit Performance Krav Maga.
Turn preparation into a steady practice
Learning self defense techniques for common attacks is a starting point; confidence comes from building physical skills and sound judgment together. Give yourself room to learn gradually, ask questions, and focus on decisions that fit your abilities. Preparation isn’t about seeking confrontation. It’s about feeling more ready to respond thoughtfully when a situation changes.
Performance Krav Maga offers Krav Maga classes, self-defense classes, and martial arts classes for people who want to keep developing practical skills through instruction. Training can help turn ideas into movement and give you a place to work on your individual learning goals.
Take the next step at your own pace. Contact Performance Krav Maga to learn more about training. Every deliberate step toward readiness is progress.
Frequently Asked Questions
How can you respond to a push, punch, or attempted strike while creating distance?
Protect your head, stay balanced, and move toward open space rather than absorbing the next attack. If someone pushes you near a doorway, for example, step diagonally toward the clear side instead of stumbling backward into a wall. Use a firm “Back up” or “Stay away” to signal your boundary, then keep moving toward people or a staffed location. Call 911 if danger continues and you can do so safely.
What are safe ways to break free from a chokehold and escape?
Prioritize creating space and getting clear, rather than trying to overpower the person holding you. Focus on protecting your head and airway, then move toward an exit as soon as the hold loosens. If the incident happens outside training, seek help immediately and call 911 if you’re in danger. During practice, use a clear stop signal and release the hold as soon as a partner taps or becomes unresponsive.
What self-defense training should beginners take, and how much does it cost in the United States?
Beginners can start with instructor-led self-defense classes or Krav Maga classes; Performance Krav Maga welcomes students of all experience levels in Egg Harbor City. In the United States, there isn’t one standard price for training. Cost depends on the program and format, and is provided after a quote request. Contact Performance Krav Maga for a quote that reflects the training you’re interested in.
Comments